Wednesday, November 20, 2013

Hello Plaster Paint!


Last night a dear friend invited me to a painting technique class using Plaster Paint.  All I can say is WOW! I love this stuff, including the amazing wax!
 
I'm sorry about the bad pictures. My phone was broken, so I was using a loner phone.
 
This is what I made! It is painted with Plaster Paint's Espresso in the center and Native Stone on the outside. I did not wax the center so I could write on it.


Here is the white cabinet door that I started with. Not bad, but definitely needed some love.


Again, the paint is Plaster Paint. Espresso and Native Stone. It is so easy to use! It really sticks to anything, and it does not stink!


I started with the Espresso as a base color. I had to paint a few coats to make sure it covered well in the center. I didn't mind if it was completely covered around the sides.


I let it dry for about 10 minutes, but I would suggest you let it dry for a few hours so it sets. Since it was a class, I was limited on time. I had a little issue later on with the distressing since the brown wasn't completely set.
 
Next I painted the Native stone around the sides. I let that dry, then put one more coat on.
 I also put one more coat of Espresso on the center while my second coat was drying.
 
 
I didn't get pictures of the wax...sorry! It is clear, so I mixed some of the espresso color with it to give more of a distressed look. You paint it on, let it set for just a little bit, then wipe it off. It was so simple and easy. I think it turned out cute!
 
 
I'm thinking about adding some metal hardware from Hobby Lobby, but not sure exactly what, so you will have to check back and see the finished product.


Friday, September 27, 2013

Burlap lamp shade


Summer was nuts! I had all these plans for projects, but life got in the way and projects were put on the backburner. One thing I did do was give an ugly lamp shade a make over. I love burlap...I would say I have an obsession with burlap...but that's another entry. Anyway, I felt like I needed more color in my living room, so I used red burlap to give it the pop of color I was look for.
First thing, I covered the lamp with extra red fabric, just to give it a fill and something for the burlap to stick to. It is NOT pretty, but it did it's job. 


Next, you cut your burlap into squares...lots as lots of squares...way more than I ever imagined. 


Some were square, some were not. I just wanted to have a little variety. Then I folded the squares and hot glued them to  the shade. 


Then you just glue and glue...I think I burned myself five times and had two big blisters when it was all said and done. I would recommend you be a little more careful than me. Your fingers will thank you. 


I think it turned out pretty cute. It is so much better than the old shade!


Now I'm ready for my next project!

Tuesday, January 29, 2013

Curtain dilemma...

Moving into my new home, I never really thought about my curtain lengths. I just knew I had plenty of curtains that I had used in my previous houses, and I was pretty happy with them all. Well, I knew I had tall windows in my new house, but never really thought about it, until I started putting them up. All my curtains were the standard 84in length, and my windows were 96in!

So I knew I had to buy curtains, but I had no idea they would be so hard to find! I would find a pattern I liked, but then it would be too expensive or the wrong length. Then I would find some that were the right length, but I never liked them. So finally, I just decided to make my own. I saw some on another blog that I really liked, so I figured I would try to make them.

I had several beige tab top panels from our first house that were just sitting in a bin in my attic, so I thought I could stencil the pattern and then sew a solid block panel to the bottom to get my length.

I went to Hobby Lobby and got a stencil, blue acrylic paint ,and textile medium. I used 3 parts paint to 1 part medium and began stenciling away.


 Make sure you use a drop cloth beneath your curtain, because the paint does bleed through.  Luckily, it wiped off rather easily.


I really love the way they turned out.  The blue block panel hasn't been sewn on yet, but they are hidden behind my love seat right now.  I will tackle that in a week or two. I think I am going to run the blue up the middle edge too.  Stay tuned...

Turquoise crazy

OK, so I have went a little turquoise crazy...just a bit. I have painted a few more things in my new favorite color.  I'm not really that crazy, and I didn't put them all into one room.  They each have a place of their own in different rooms. 

I used the same technique as I did on the chairs and table for these projects.


This was an ugly old dresser I got at a garage sale a few summers ago.  I paid $3.50 for this bad girl...and my husband said I spent way too much.  It was that ugly!!


Here are a few more things I painted...
 

I may have went a tad bit overboard on the color, but I think I've had my turquoise fix and do not plan on painting anything else this color...at least for a while.


My Search for the Chairs

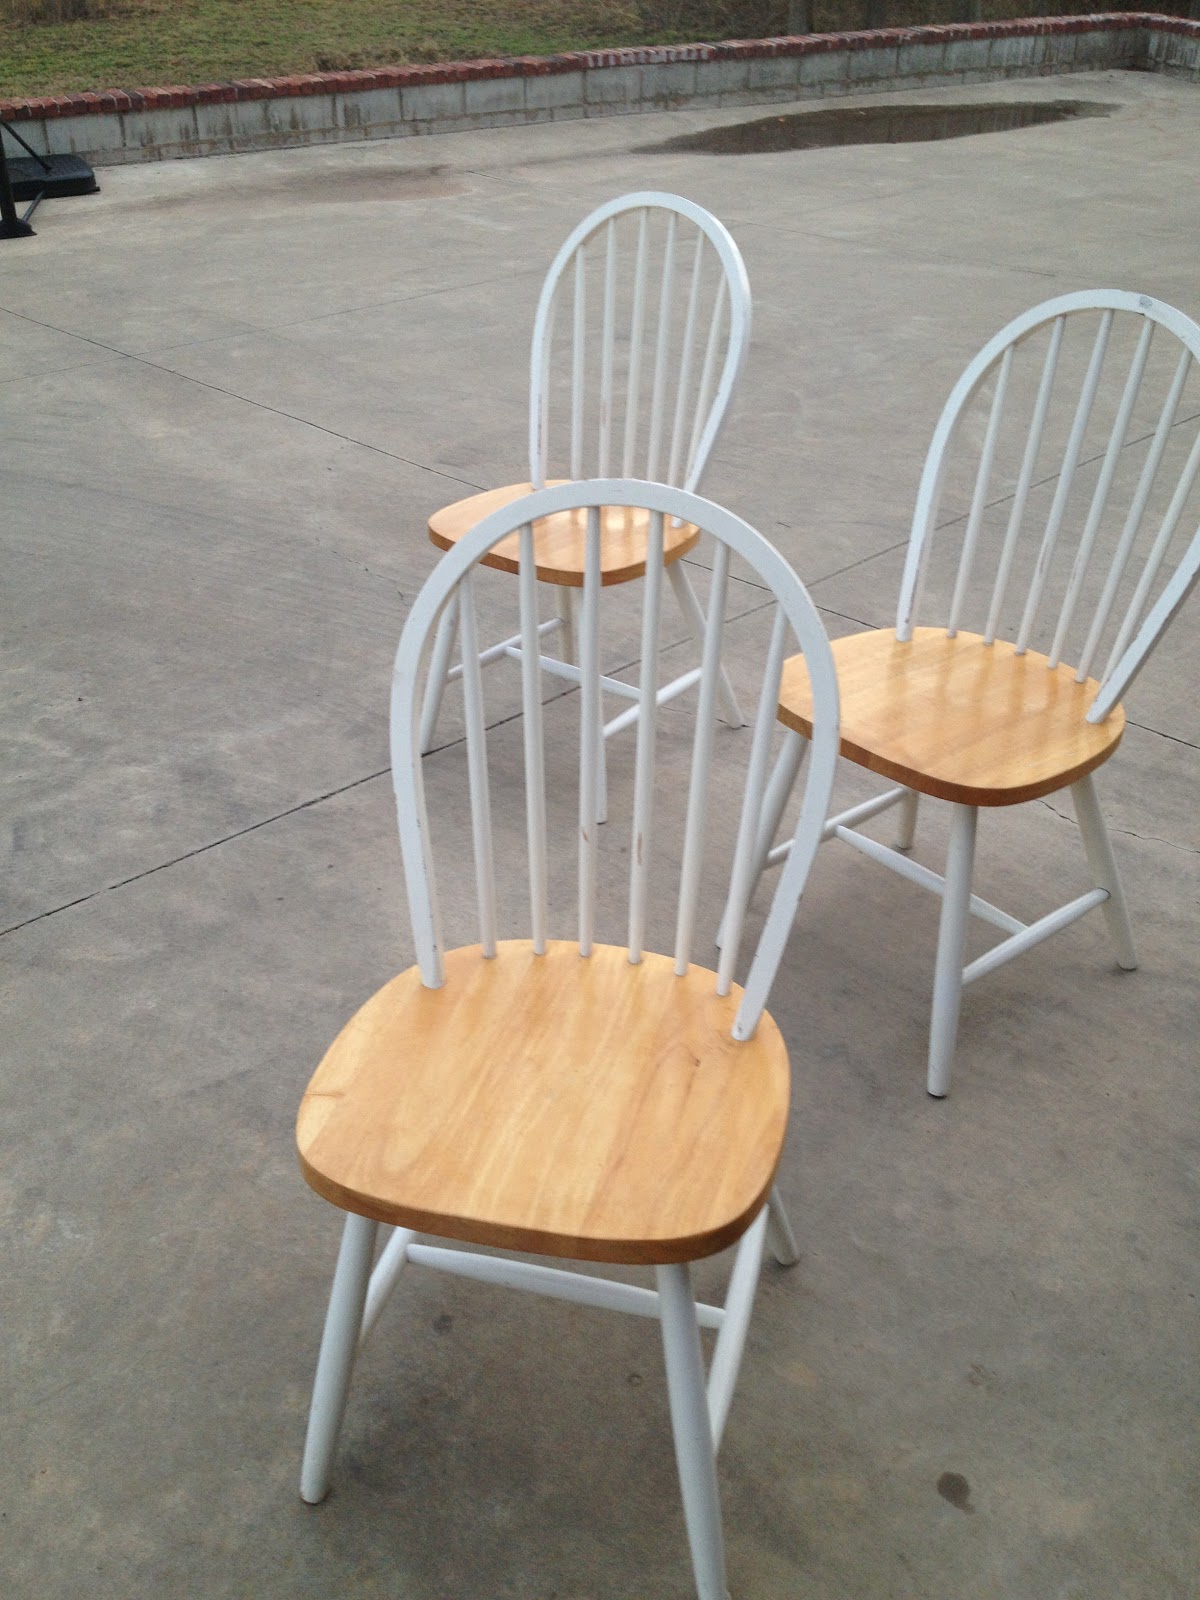
So I had my new table, but I didn't have any chairs to match.  What is a girl to do? Well, I went and searched for a few weeks. Finally, about a month after I finished my table, I found (what looked like the exact chairs that went to my table) at Habitat Restore!  There were 4 chairs for $8 each...not too shabby!


I swear, I truly think these chairs are from my table.  It was the same white paint and wood stain...so basically, my table and these chairs were also soul mates.
Again, being lazy, I didn't sand anything.  I even skipped the step of painting the brown paint over the white.  I simply painted over the white with the turquoise paint. 


I tried my very best to keep from getting paint on the seats.  I made sure I kept my Oops wipes beside me just in case...  Anyway, after I painted the turquoise, I let it sit over night.
The next morning, I decided I would use a dry brush with the brown paint, and basically dry brush to distress the chairs. 
I'm so glad I did.  I think they turned out great! 

 After the brown paint dried, which didn't take very long at all, I applied one coat of varnish. I hate to sand, so I just left the seats their original color and finish.  Maybe I will get tired of the two-toned wood and stain the seats, or maybe not...depends on my mood.

The varnish is pretty stinky, so I let them sit in my garage for a day to air out.  They look so good together and I'm pretty excited that I only spent about $60 on the whole project, including my paint/stain. I need to get a better picture, but you can somewhat see just how well they look together.


My Turquoise Love...

Hello all, I am so excited you came to visit me on my blog.  I am completely new to this, so please do not judge too harshly.  As my bio states, I am currently working on decorating and making my new house a home.  Being on a tight budget, I've had to get pretty creative/crafty.  Without Pinterest and other amazing blogs like Our Fifth House and Whipperberry , I don't know what I would do. 
 
One of my first challenges in my new home was a dining table.  I have a formal dining room and a kitchen dining area...all new to me.  Moving into this house, we basically doubled our living space, which means most of my house is bare.  Back to my challenge...I needed a table to go in my kitchen, but didn't have very much in my budget to get one.  I found an amazing picture of a table on Pinterest and knew this was the table I wanted, and this table basically started my love affair with turquoise. 
 
Here was my new soul mate...It was truly love at first sight!  I loved the how the color popped and the distressing gave it so much character.  Just looking at it made me giddy :) 


I knew I had to have one of my own, so I set out to find one.  My mom, Carol, and I went out searching garage sales and resale shops, but I just didn't see anything that could come close.  We decided to run and grab a drink on our way home, and low and behold, we found an old warehouse with a bunch of junk out in front of it.  We started looking at the stuff, and that's when I spotted my table!  We whipped in, and ran straight to the table.  The man running the sale told us the sale was for missions, and with that being said, I was sold!  What a perfect way to get my table and give to missions all at the same time.  The table had a sticker of $20, but was pretty dirty and had a crack in the top, so he said he would take $15...score!!! I loaded the sucker up and took it home with me. 
 
(I forgot to take the picture before sanding the top, sorry.)


I immediately got to work sanding the top coat of varnish off.  After I sanded and cleaned the top, I painted the white legs with a dark brown paint to cover the white. I'm too impatient, so I didn't prime anything.  I just straight up painted a sloppy coat just to cover the legs and let it sit over night. 


 The next morning, I could hardly wait to get back to my new love.  I painted a coat of latex turquoise paint over the dark brown.  As I painted, I made sure that plenty of the brown showed in certain places.  I even took a rag and wiped some away. 
(I didn't completely have this covered yet)
 
 
After I had my distressed turquoise coat on, I let it set.  For the top, I used a cherry looking wipe off stain.  I just applied the coat, and wiped it off after about 10 minutes.  I had to repeat this step about 3 times to get the color I wanted. 

 
 When I got my color just right, I applied a varnish.  I used two coats of it. 


Here she is!  Isn't she beautiful?!!  I'm pretty excited for my $15 table.  All I need now are the chairs...