Tuesday, January 29, 2013

Curtain dilemma...

Moving into my new home, I never really thought about my curtain lengths. I just knew I had plenty of curtains that I had used in my previous houses, and I was pretty happy with them all. Well, I knew I had tall windows in my new house, but never really thought about it, until I started putting them up. All my curtains were the standard 84in length, and my windows were 96in!

So I knew I had to buy curtains, but I had no idea they would be so hard to find! I would find a pattern I liked, but then it would be too expensive or the wrong length. Then I would find some that were the right length, but I never liked them. So finally, I just decided to make my own. I saw some on another blog that I really liked, so I figured I would try to make them.

I had several beige tab top panels from our first house that were just sitting in a bin in my attic, so I thought I could stencil the pattern and then sew a solid block panel to the bottom to get my length.

I went to Hobby Lobby and got a stencil, blue acrylic paint ,and textile medium. I used 3 parts paint to 1 part medium and began stenciling away.


 Make sure you use a drop cloth beneath your curtain, because the paint does bleed through.  Luckily, it wiped off rather easily.


I really love the way they turned out.  The blue block panel hasn't been sewn on yet, but they are hidden behind my love seat right now.  I will tackle that in a week or two. I think I am going to run the blue up the middle edge too.  Stay tuned...

Turquoise crazy

OK, so I have went a little turquoise crazy...just a bit. I have painted a few more things in my new favorite color.  I'm not really that crazy, and I didn't put them all into one room.  They each have a place of their own in different rooms. 

I used the same technique as I did on the chairs and table for these projects.


This was an ugly old dresser I got at a garage sale a few summers ago.  I paid $3.50 for this bad girl...and my husband said I spent way too much.  It was that ugly!!


Here are a few more things I painted...
 

I may have went a tad bit overboard on the color, but I think I've had my turquoise fix and do not plan on painting anything else this color...at least for a while.


My Search for the Chairs

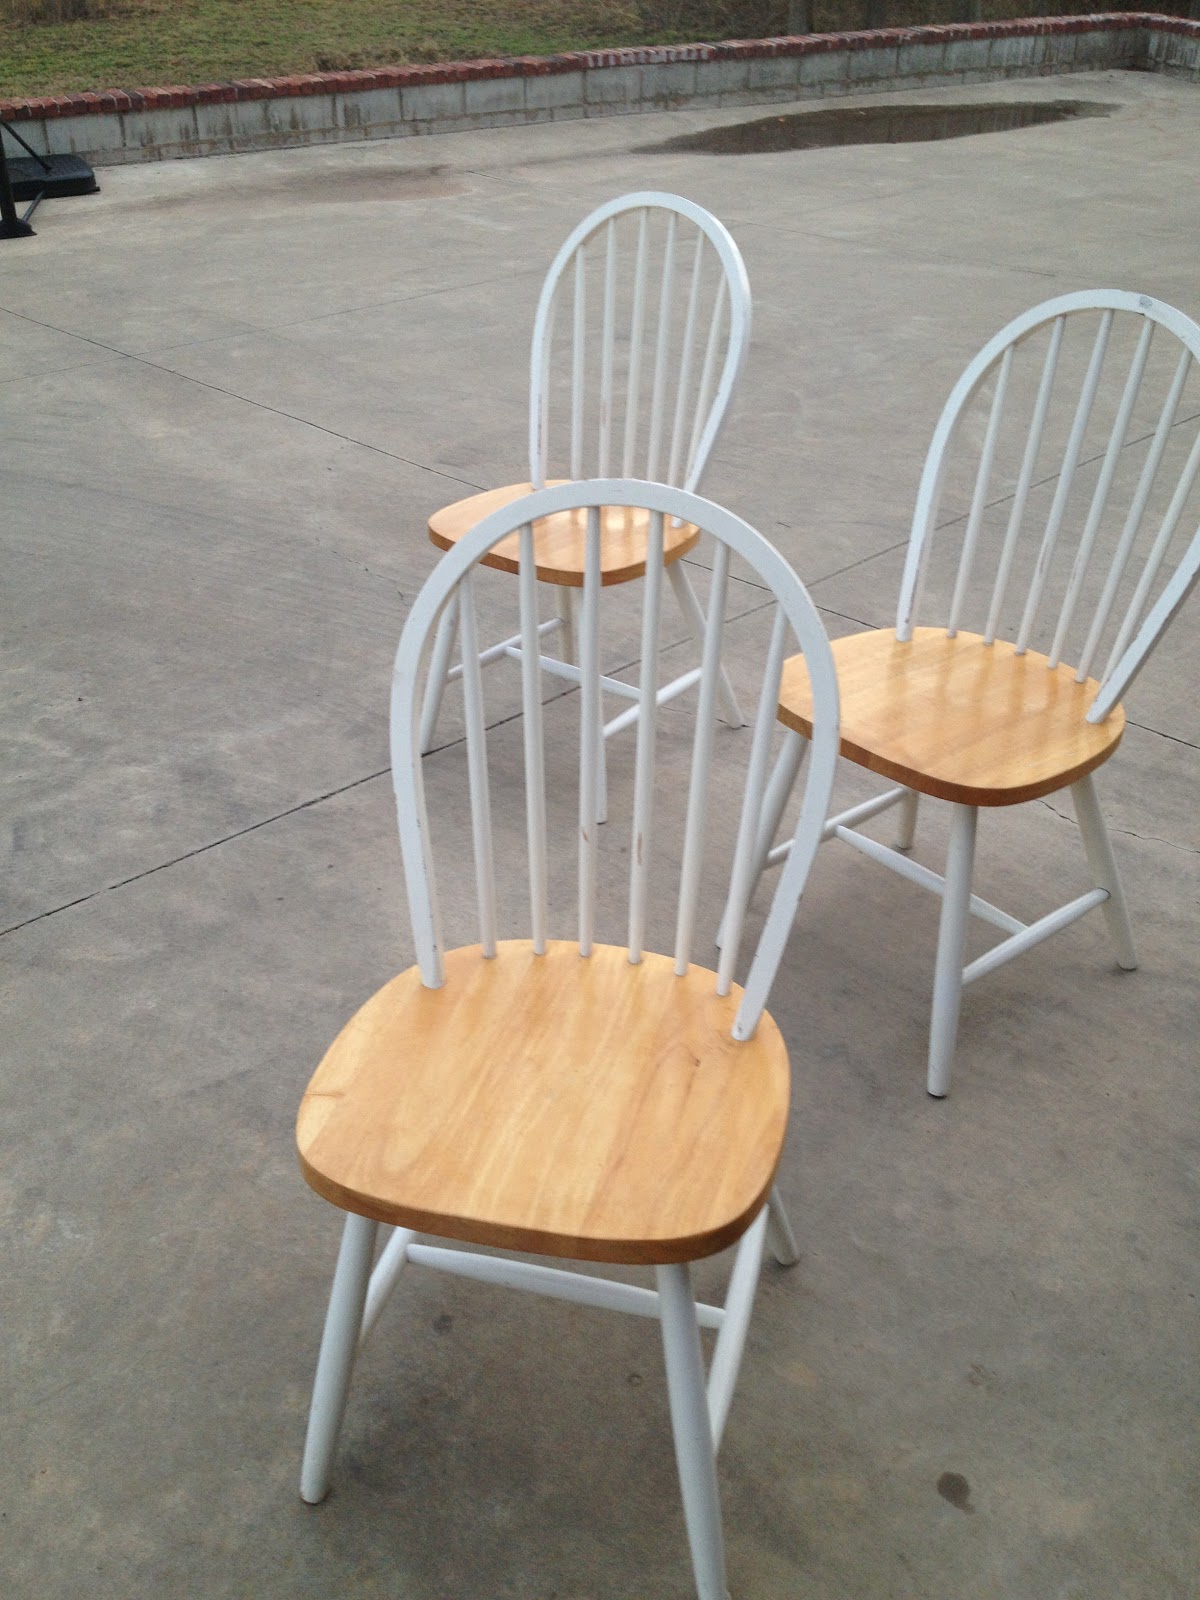
So I had my new table, but I didn't have any chairs to match.  What is a girl to do? Well, I went and searched for a few weeks. Finally, about a month after I finished my table, I found (what looked like the exact chairs that went to my table) at Habitat Restore!  There were 4 chairs for $8 each...not too shabby!


I swear, I truly think these chairs are from my table.  It was the same white paint and wood stain...so basically, my table and these chairs were also soul mates.
Again, being lazy, I didn't sand anything.  I even skipped the step of painting the brown paint over the white.  I simply painted over the white with the turquoise paint. 


I tried my very best to keep from getting paint on the seats.  I made sure I kept my Oops wipes beside me just in case...  Anyway, after I painted the turquoise, I let it sit over night.
The next morning, I decided I would use a dry brush with the brown paint, and basically dry brush to distress the chairs. 
I'm so glad I did.  I think they turned out great! 

 After the brown paint dried, which didn't take very long at all, I applied one coat of varnish. I hate to sand, so I just left the seats their original color and finish.  Maybe I will get tired of the two-toned wood and stain the seats, or maybe not...depends on my mood.

The varnish is pretty stinky, so I let them sit in my garage for a day to air out.  They look so good together and I'm pretty excited that I only spent about $60 on the whole project, including my paint/stain. I need to get a better picture, but you can somewhat see just how well they look together.